Server 2012 Core

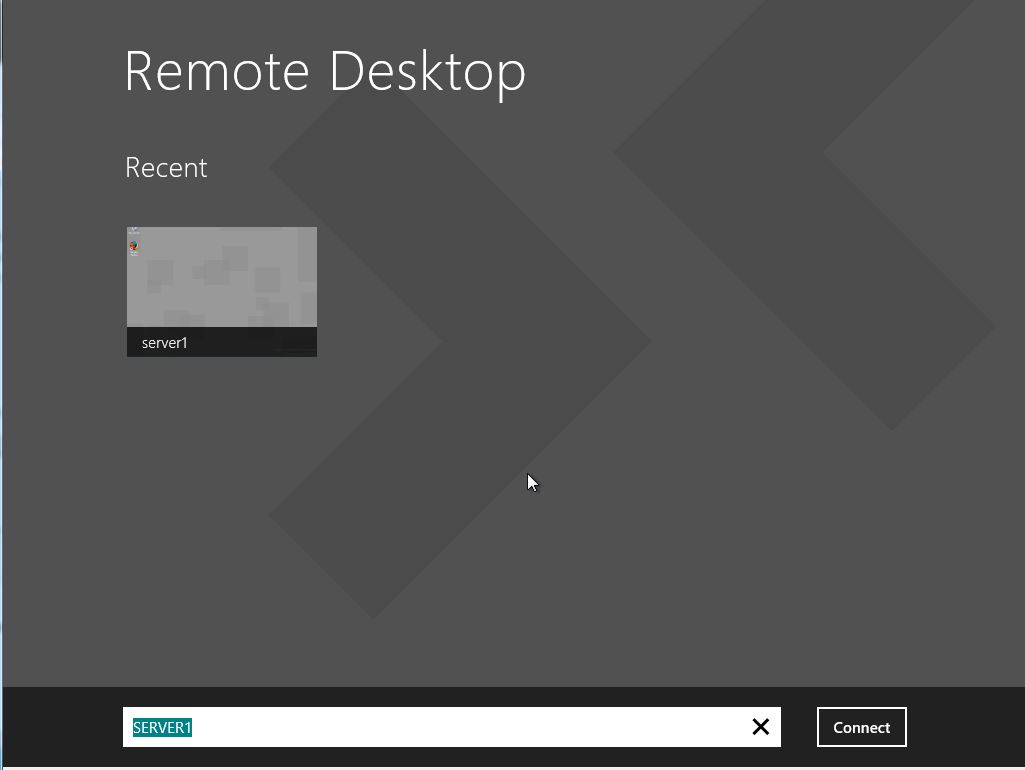
How to Add a Domain Controller using PowerShell

To use Install-ADDSDomainController, only three things are required:

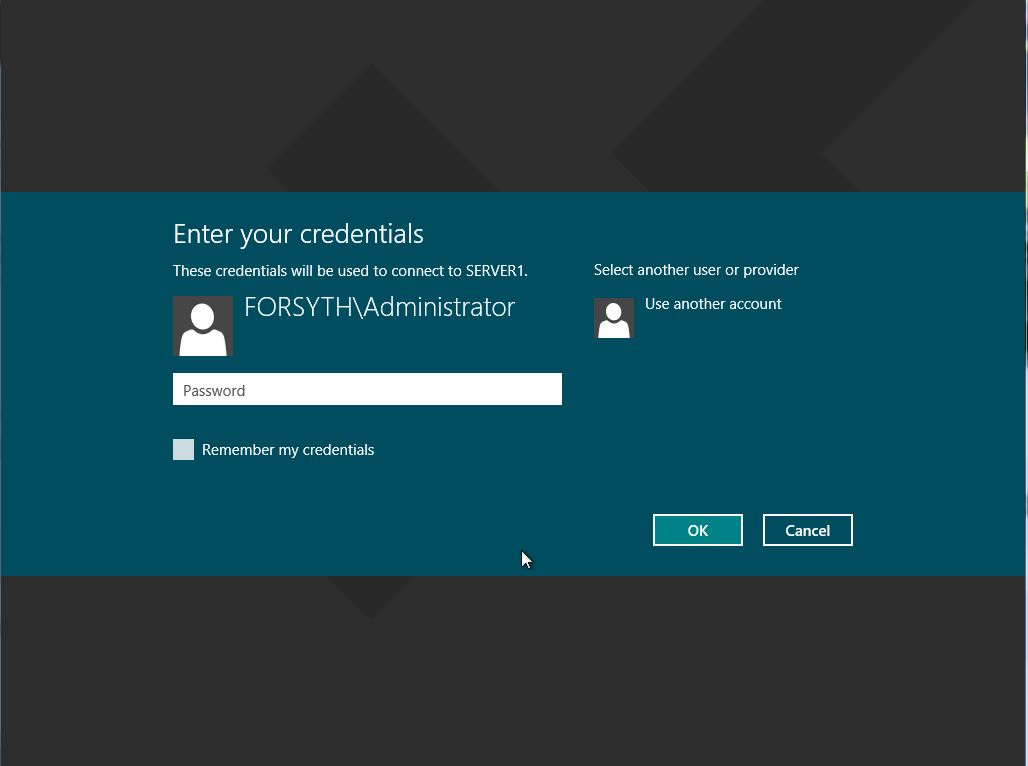
Domain name, Credentials, Directory Services Restore Mode password. Similar information which we had to input in the domain controller promotions stage of GUI install.

Install-ADDSDomainController “forsyth.local”

CoreAdd

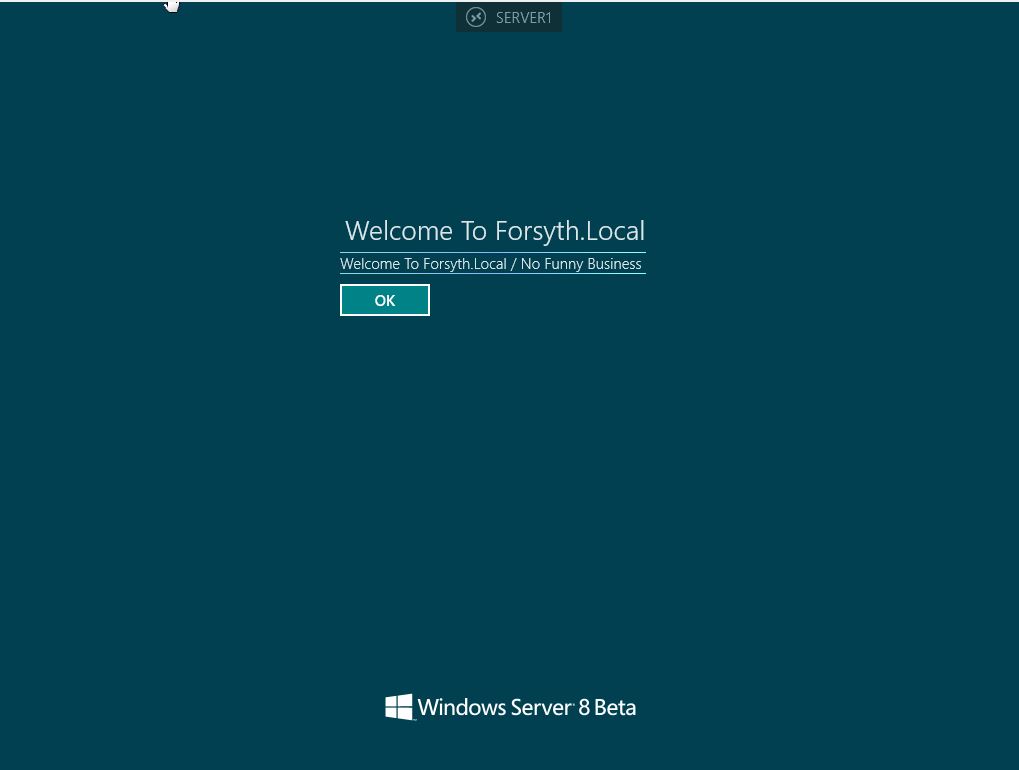
Your Core Server 2012 should now be part of the domain

Remove the DHCP on DC1, through Manage Remove Roles or Services

RemoveDHCP

Remove DHCP from DC and implement DHCP on server core

Make sure it has a manually assigned IP. ( you can use SCVMM 2012 SP1 CTP1/2 – or Set-NetIPAddress ).

Add the DHCP role:

Add-WindowsFeature DHCP

Create a scope:

Add-DhcpServerv4Scope –StartRange 172.16.1.40 –EndRange 172.16.1.50 –SubnetMask 255.255.0.0 –Name “172.16.1.x” –State Active

That is it. Just create a VM and test it.

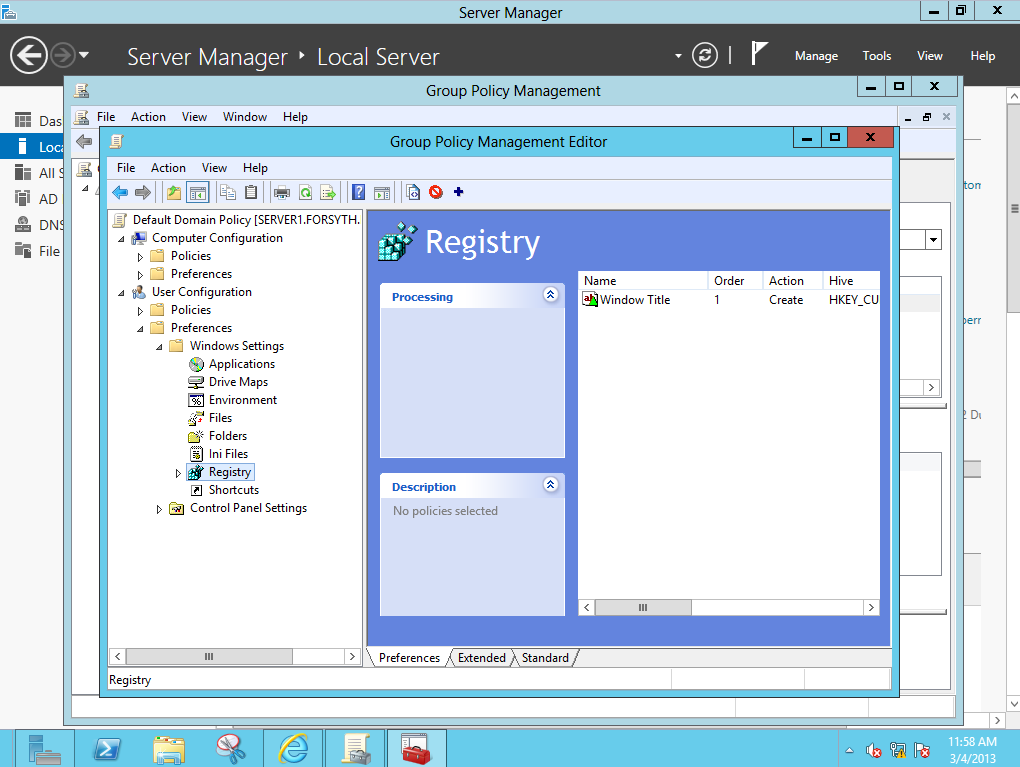
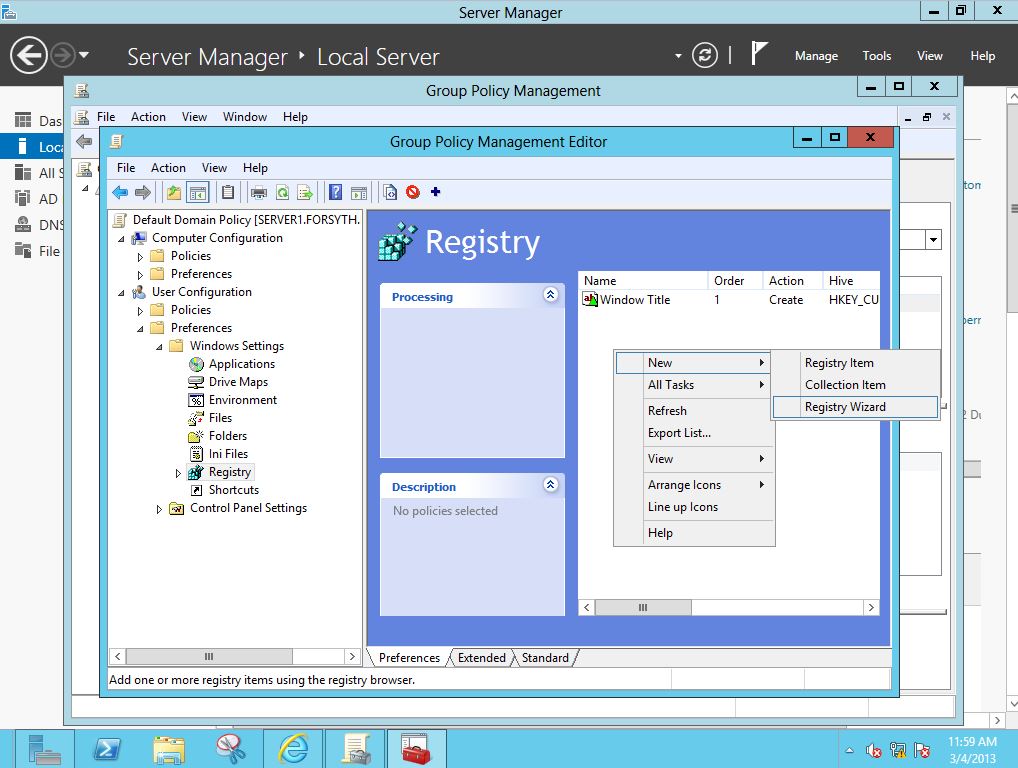
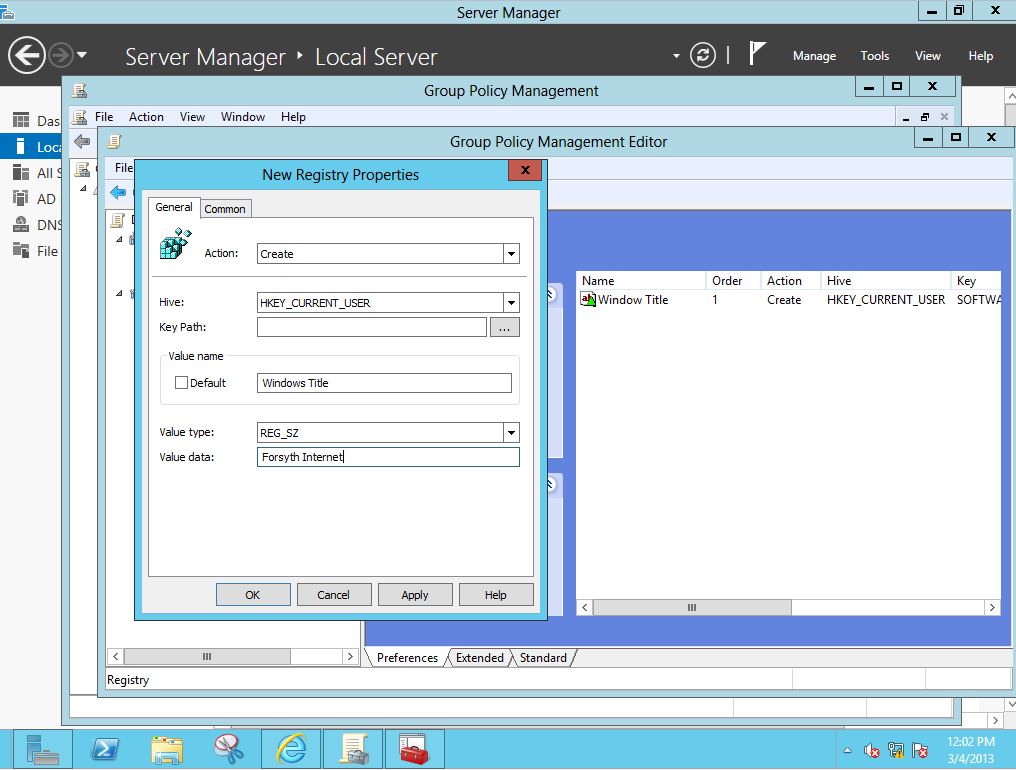
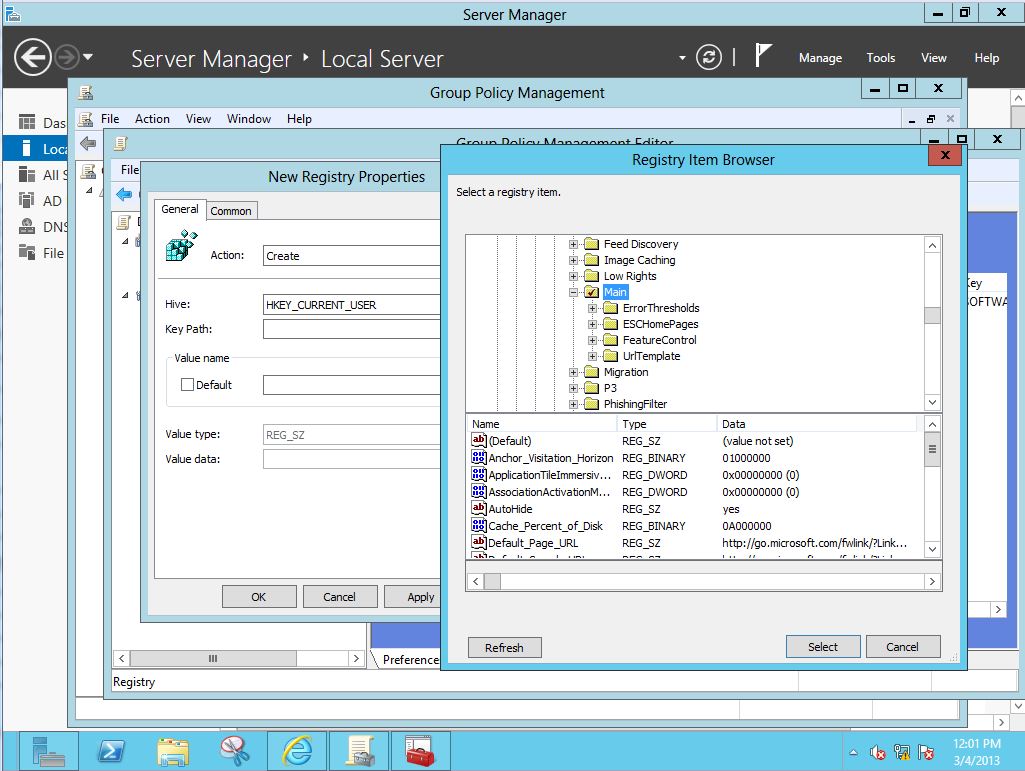
Administer Server core DHCP from Server GUI

I wasnt really sure how Bob wanted this done but… Here is how i’d do it.

Using the following command on your Server Core

Import-Module Dism
Enable-WindowsOptionalFeature –online -Featurename ServerCore-FullServer,Server-Gui-Shell,Server-Gui-Mgmt

command

gui

It takes a few minutes, but once you are done you can reboot you have the full GUI environment to edit an alter what you would usually do on a GUI version of Server 2012

DHCP Failover in Windows Server 2012

The steps for configuring DHCP Failover in Windows Server 2012 are very easy!

Using Server Manager, Install the DHCP Server role on two new Windows Server 2012 servers in your domain. Authorize both DHCP Servers in Active Directory.

Using the DHCP Management console, Configure and Activate a new DHCP Scope on one of your two DHCP servers.

Using the DHCP Management console, right-click on the newly activate DHCP Scope and select the Configure Failover… action.

Failover

In the Configure Failover Wizard, click the Next button.

In Specify the partner server to use for failover, type the FQDN of your second DHCP Server and click the Next button.

In the Configure Failover dialog box, configure the following options:

Relationship Name: Enter a descriptive name to describe this DHCP Failover relationship or accept the default value.

Maximum Client Lead Time: Specifies the amount of time for which a DHCP lease may be renewed by either failover peer without contacting the other.

Mode: Select Load Balance ( default – Active / Active ) or Hot Standby ( Active / Passive )

Load Balance Percentage: Specifies the percentage of the IP Address range to reserve for each server in the failover relationship. Each server will use their assigned range of addresses prior to assuming control over the entire IP Address range of a scope when the other server transitions into a “partner down” state and the Maximum Client Lead Time ( specified above ) passes.

Auto State Switchover Interval: When selected, specifies the amount of time that elapses before a DHCP Server is automatically transitioned to a “partner down” state when network communication is interrupted to a DHCP Server. If this option is unchecked, an administrator must manually transition the status of a DHCP Server into a “partner down” state using the DHCP Management console or PowerShell. ( when checked, the default = 60 minutes )

Enable Message Authentication: check this checkbox option to enable authentication of failover replication traffic between servers

Shared Secret: Type a “Shared Secret” ( ie., a Password ) to be used to authenticate the failover connection between servers

edit

Click the Next button and then click the Finish button.

Confirm that the failover configuration was successful, and then click the Close button.

compelte

Data Deduplication

Firstly we need to make a new volume for an added hard drive so lets make sure we have equal room on the hard drive of our computer i.e 25GB

Next we need to create the hard drive through oracle virtual box under settings click add new hard drive

hitaddnewstorage

After this a screen with three options comes up so we need to choose create a new hard disk you can name it “D”

addapremadeorcreatea10gbone

Once this is done we can see the new disk is called d and listed under our server vdi

Disactiveforme

I would recommend running the install commands encase you missed something.

Run the following Windows PowerShell commands:

PS C:\> Import-Module ServerManager
PS C:\> Add-WindowsFeature -name FS-Data-Deduplication
PS C:\> Import-Module Deduplication

your configure data de dup could be greyed out this can fix it.

Assign the new drive to have a letter i.e “E” and make it formatted as NTFS

newvolume

Now under volumes, we should see E

addandapply

Next we can configure our E drive to be the backup for the data duplication. Select the Enable data deduplication check box, enter the number of days that should elapse from the date of file creation until files are deduplicated, enter the extensions of any file types that should not be deduplicated, and then click Add to browse to any folders with files that should not be deduplicated.

configurededup

And the data will now be backed up to your settings/preferences enabled.

DNSSEC

configuring dnssec in a windows domain with server 2012

Go to server manager and go to tools, DNS

DNSSEC1

Browse DC1 and look for forsyth.local

Right click and select DNSSEC > Sign the Zone

It will bring up a wizard for us to run

wizard

use default zone

and finish the wizard

wizardfinish

We can now check its enabled

created

Now we have to configure a policy to require internal hosts to use DNSSEC.

In “server manager”, click on “tools” and select “group policy management”

create new policy

It doesn’t matter what you call the policy but something descriptive is useful, particularly if someone else needs to make changes down the track.

created

right click on “DNSSEC Policy”

editdnssec

Browse too computer configuration, expand “policies”, then expand “windows settings and click on “Name Resolution Policy”.

next to “suffix”, add your domain name.”forsyth.local, tick “enable DNSSEC in this rule”, then tick “Require DNS clients to check that the name and address data has been validated by the DNS server”. Finally click “create rule”, then click “apply”.

suffix

If you look under group policy settings you will see that the rule has been applied

rule active

do a gpupdate /force from cmd on the windows client and happy days

DHCP / Scope / Release / Renew

Install DHCP on your server by adding roles and features and selecting DHCP, you can go through clicking next for now and it will install all we need.

Once installed bring up the DHCP gui.

DHCP gui

Select your server and IPv4, right click and hit New Scope…

newscope

Name the Scope

namethescope

Now we configure the start range and end range for our IP addresses

addinrange

Now we can see the scope on IPv4

nowwecanseethescopeactiveonipv4

Log into the user machine and select auto for the network card properties

logtousermachineselectautofind

Open CMD and type ipconfig /release (removes preexisting ip address information)

ipconfigrelease

Whilst in cmd type ipconfig /renew and it will grab the IP off the current DHCP allocation

ipconfigrenew

Internet should be available and so should your server shares

netnnewtowksharre

Remote Desktop Connection / IE Registry Change

IE Registry Change

To change the title bar of Internet Explorer we need to change it through the registry navigate too Group Policy, User Configuration, Preferences, Windows Settings, and find Registry

browsetoouserreg

Right click in the white space and select New > Registry Item

rightclicknewregitem

The action we want to take is create a new registry item, the hive is in for the “Current User” the Value Name is what were going to call the file, and the type is reg_sz, the Data is what is going to be displayed in the title.

valuename

The key path is where we are going to find where we want to put our item, we need to look for “Main” under the “Internet Explorer” tab.

findtheregistery

After selecting Apply log onto the client machine and check the change happened.

forsyth

Remote Desktop Connection

Locate remote desktop on local server

Locateremotedesktop

Double click and select the option

allowconnections

Hit the windows key and start typing remote

findremotedesktop

Enter the server name and click connect

connecttoyourserver

Enter admin credentials

entercredentials

It will secure

securing

And then show your remote dekstop session

connected

Users Directory / H: Drive / P: Drive (Public) / Template Directory

H: Drive
Map User’s To Data

Create a Data file in the C Drive, create separate folders for the OU’s eg. users_accounts / users_it

Data

Go to active directory and select and OU, select a user and right click properties

rightclickprop

We can see all the tabs available for us now, select profile we want to create a “Home Folder” and connect it to a H: drive

pathing

the path we want to use is \\SERVER1\Data\users_warehouse\%username% so if anyone logs in with under the warehouse group their H: drive will automatically map under their username. It will find their username changing %username% to eg. bpacker

changeto

We also want to update our networkmap script so that the drive is visable for the user! So browse to \\server1\netlogon and look for our login script! edit it so it reads net use h:\\Server1\Data

networkmap

Now we can log into our user profile and see our H drive is mapped

nowwecansee

If we go back to our server we can now see the user’s logged in and the profile folder has been made for him/her

onceuserlogsincanseeprofile

Lets create a test document in the folder on the client machine

createatestfile

And back to the server to make sure

andwecanseeitsbeingsaved

P: Drive

Create a Public Drive folder

Using our netlogon script for mapping network drives we can add the Public Drive, so edit the script to make it look like net use p: \\SERVER1\Public

sss

And on our public machine we should see the public drive with the mapped letter P

yayu

Template Directory

Same principles as before

Make a folder called Templates

templates

Change our netlogon scrips to include

net use t: \\Server1\Templates

And we can now see the Templates folder

templatesuser

The templates folder will be read only so we have to go and change the sharing settings on the folder. Go onto the Server and select the templates folder, right click and hit share with specific people, add everyone, but change their permission level to READ!

read

Proxy / Home Page / Logoff Script / Logon Message

We need to once again go to Group Policy Management, here I set the default home page and the proxy for the IT GP

So browse to IT and right click the policy and hit edit

IT default set

Select User Configuration, look under the Preferences Tab, and select Control Panel Settings, here you will see “Internet Settings”

navtousercontrolpanelsettings

We right click in the white space and create a new IE 10 & 11 Unit. From there we can right click it and select properties. It will take us to a screen that will show General / Security / and more tabs. In the white space we can set the default homepage and make it start with the home page each time.

rightlicknewinternetexporer10

The tabs include one called Connections, here we can input the proxy by clicking lan settings and checking the proxy server box.

connectionslansettings

Disable Display Settings

We wanted to disable display settings in the control panel.

Firstly through GP we go under the tab User Configuration again, looking for Administrative Templates and then Control Panel

searchtodisplay

Here we can see the option to Disable the Display Control Panel. Double click on it and it brings up some options for us.

disabledisplaysettings

We want this option Enabled!

Now log onto a client machine and check this is working

displaysettingslocked

Logon Message

Once agian through GP browse to Computer Configuration, then to Windows Settings and furthermore to the Security Settings.

naivatetopolwinseclocalpol

Double click local policies and then security options

securityoptionstosetmessage

By clicking on the security options we can find the Interactive Logon: Message test for users attempting to log on.

This will allow us to write something for the user attempting to log on

entertext

Log Off

Through GP locate User Config, Windows Settings, Scripts (Logon/Log off)

navtologoffscripts

In there we need a script called log off remembering to select it from the netlogon folder, not the local share.

browsetofileinsysvol

In this file we have a script (net use s: \\Server1\SharedDocs /delete) this will delete what ever is in the shared docs when the user log’s off.

Auditing

Again entering into group policy management we can see that the Default Domain Policy is still what we want to edit, so right click and lets edit the Auditing Policies

againgrouppolicyeditor

Ok, we want to navigate to Computer Configuration, Policies, Windows Settings, Security Settings.

Here we can see Local Policies, and the description has Auditing in it.

navtopoliciescompwindowssecuritylocal

Select Audit Policy

selectauditpolicy

Audit Logon Events (we want to tick success and fail)

auditlogonevents

Go Back And Repeat the same steps for Privileged Use

privelageuse

We can now run a gpupdate so that all the changes we’ve made are applied

updategrouppolicy

Logout and make some failed attempts at logging in

doafewfailloginsfortesting

Log back in and, go to Tools, Event Viewer and we can Windows Logs, click the Security list

windowslogssecurity

Now we can see the attempted logins the successes and failures

wecanseesuccessfails

Password Policy / Lockout Policy

Open Group Policy Management

Here for our domain FORSYTH.LOCAL we can see the default security settings, it is listed for us by hitting the Settings tab and looking for “Security Settings”

grouppoloicysecuritysettings

Navigate through computer configuration to policies to windows settings to security settings

comppolicieswindowssecurity

Select Account Policies, it will then take you to a screen where you can select Password Policy / Account Lockout Policy and Kerberos Policy

passwordpolicy

Select Password Policy, the default policy looks like this

defaultpolicy

We want to change the maximum password age to 24 days

changedto24daysdefault42days

If we go back we can now choose Account Lockout Policy

accountlockout

When trying to change the lockout attempts to 3 times, we get a handy hint to change the times on the reset counter and the duration

3attempt30mins

Once refreshed it will show all our applied changes

refereshanditwillshowchanges